Sauerkraut has always been at the top of my list of favorite foods. Until recently, however, I had no idea how healthy it actually is. Since I’ve been studying it more closely, I just find it exciting what positive health effects you can achieve with it. Probiotic foods, kefir, lactic fermented vegetables, is it just hokum, or what’s really to it? I’ve done the research for you and developed a simple 5 step guide that will allow you to ferment your own lactic acid vegetables inexpensively at home. I wish you a lot of fun with it!
Fermented vegetables – marketing gimmick or really healthy?
I asked myself the same question and started listening to numerous podcasts from experts on gut health, poring over books and articles on the subject and the answer is relatively clear: Yes! Fermented or lactic fermented foods are pretty darn healthy. The process itself is relatively old, because even seafarers hundreds of years ago appreciated fermentation and especially the vitamin C that is naturally produced during fermentation. But now we are no longer on sea ships and buy our food in the supermarket. So then what is the reason why it is so healthy?
The mysterious microbiome
Sourdough bread, kefir, sauerkraut, all these foods have one thing in common. Fermentation creates healthy bacteria that feel right at home in our intestines and ensure a healthy environment. This in turn ensures that we have a strong and resilient immune system, because 70% of our immune cells are located in our intestines. These ensure that we stay healthy all around. Our intestines can even communicate with our brain via the so-called gut-brain connection, and I don’t want to know what’s being blabbered about. Recent research clearly shows how important gut health is to our overall well-being and long-term health. So folks, finally a trend that is allowed to stay.
Maybe you’re thinking, I can just take a capsule with probiotic cultures? Unfortunately, no, because experts agree that real food has a much better effect than just a pill.
CONCLUSION: It is extremely worthwhile to eat a small amount of fermented foods every day. You do not have to eat the whole jar at once for dinner, because 1-2 tablespoons a day are enough.
The 5 steps for a successful fermentation
Step 1: The glasses
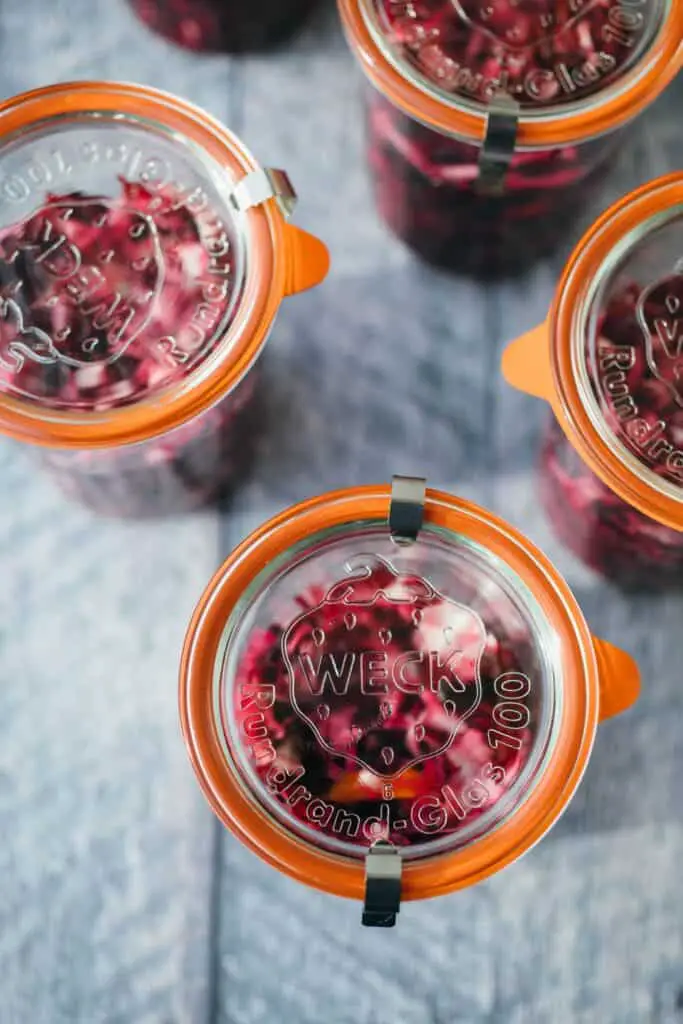
Here you can use a wide variety of canning jars , depending on your preference. I use some with a rubber ring, but a recycled jar with a screw top will also work. The main thing is that it can be closed well. Very important is sterilization before you put the vegetables. The jars must be boiled once or sterilized in the steamer (there is a special program for sterilizing here). If you do not do this, then mold can form and the whole effort was in vain.
Tip: If you like it very comfortable, you can get special glasses that vent automatically. Here you can go directly to a brand that I personally find super.
Method: bring a large pot of water to a boil and boil the jars including lids for about 3 minutes. Remove and allow to dry. If necessary, dry with a clean tea towel. Be careful when handling hot water, danger of scalding! Be sure to allow hot jars to cool before further processing.
Step 2: Chop and massage vegetables
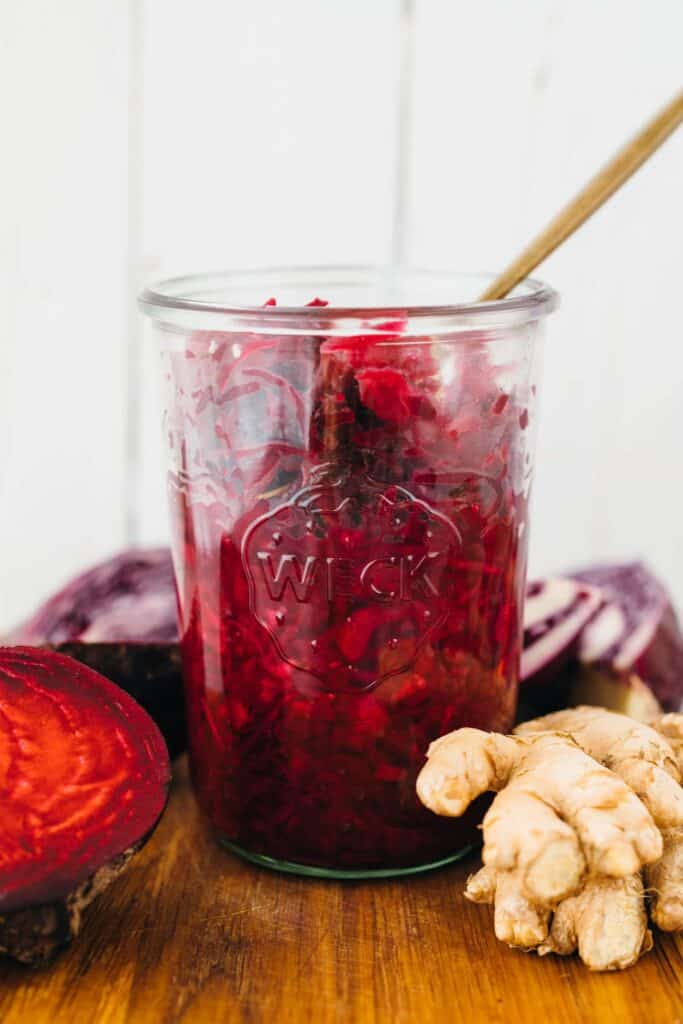
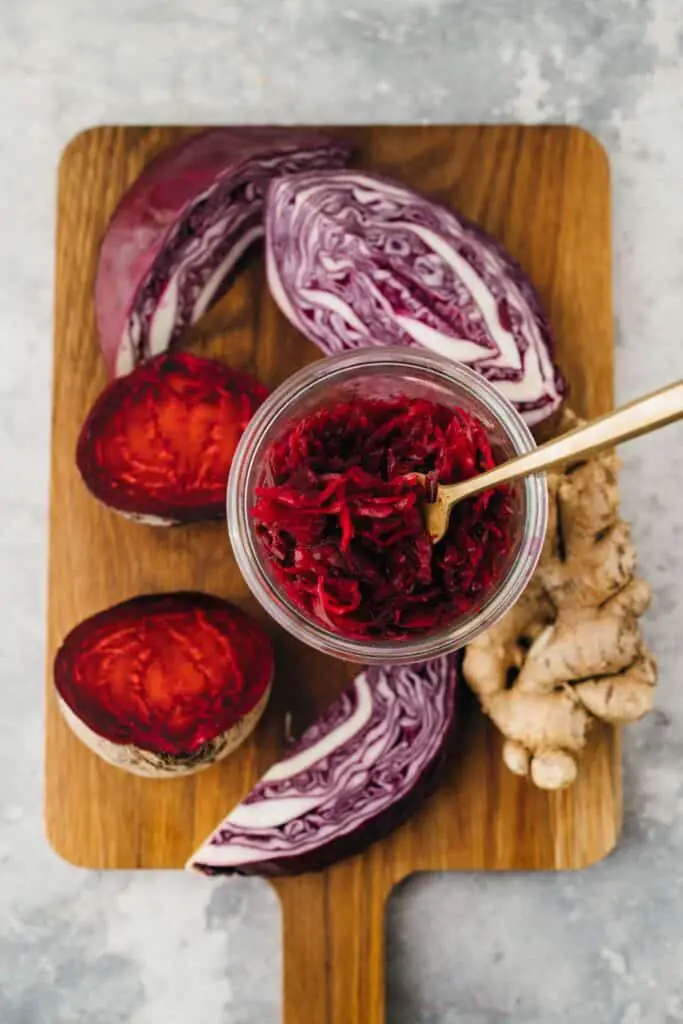
There are no limits to your imagination, because you can use almost all vegetables that you like. Root vegetables, cabbage, mushrooms and much more. What is not so good is very soft vegetables such as tomatoes, because they would make them soft and mushy by fermenting. My favorite vegetables are: Beet, cabbage and Carrots . I like to use ginger and turmeric for this.
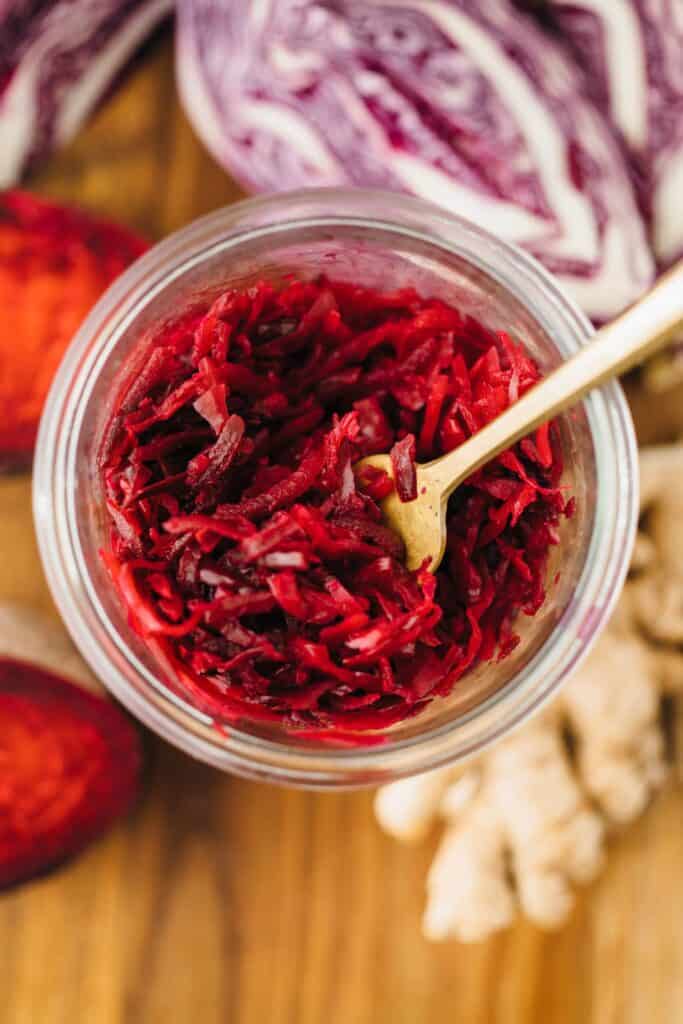
When processing, make sure that you chop everything quite finely (also gladly with the food processor). Feel free to experiment here to see what is right for you. When massaging the vegetables, liquid comes out within a few minutes. The salt literally extracts the water from the vegetables and a natural brine is created. So do not skip this step in any case.
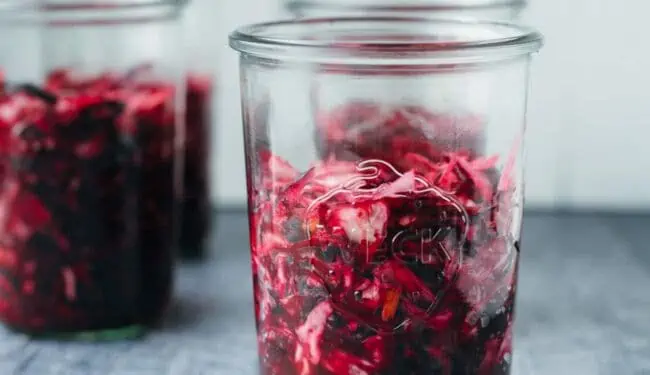
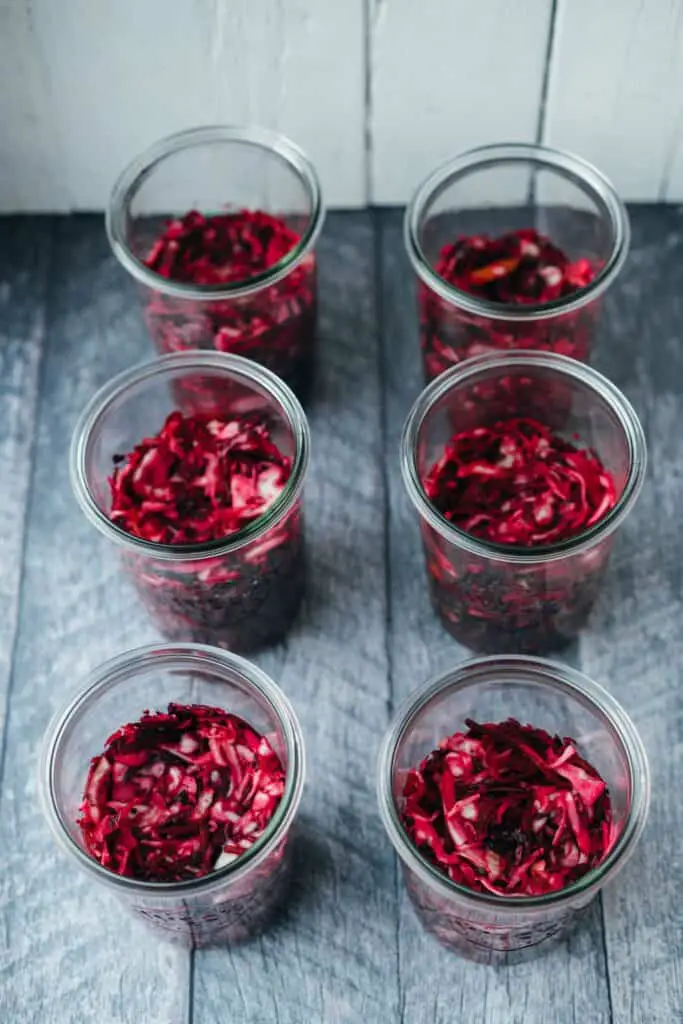
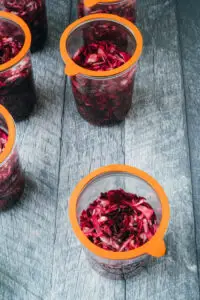
Step 3: Insert
When placing in the jar, there is one important rule and that is: never fill up! No matter how tempting, never fill the jar to the brim, otherwise you can look forward to a great cleaning party. During fermentation, the vegetables expand and swell. Believe me, I know what I’m talking about. Since then, I’ve had great purple stains on my wooden table. Rule of thumb: The filling quantity should not exceed ¾ of the glass. Personally, I now play it safe and fill a little more than half into the glass.
Once the vegetables are in the jar, press down and you will notice liquid rising to the top. It is essential that the vegetables are sufficiently hydrated and submerged. Otherwise, it comes into contact with oxygen, begins to oxidize and may even mold. If the vegetables themselves do not have enough liquid content, simply add more brine* until everything is well covered. It may be that one or the other snip floats to the top, but that is not a bad thing. Alternatively, you can use a smaller glass lid or special weights to hold the vegetables down.
TIP: The brine* used should always have a salt content of 2%. For example, if you use one liter of water, add 20g of salt. Use the brine to fill the jar if there is not enough water in the jar.
Step 4: Care and bleeding
We all know how it feels to have too much gas in the belly. The same thing happens in the jar when the vegetables start to ferment. Gases form and they want to be vented (you can imagine what happens if not?). My rule of thumb is to absolutely vent once a day for the first few days. After a few days, the fermentation is no longer working so strongly, but you will notice this very quickly in the reduced gas formation.
Step 5: Wait and enjoy
Depending on the temperature, the fermentation process is completed after 14 days. The warmer it is, the faster it goes. At room temperature, the vegetables will be perfect after two weeks and you can continue to store them in the refrigerator. And now? Just enjoy a small amount every day with your regular food and the bacteria will do the rest in your gut, making your microbiome and immune cells feel right at home. By the way, there will be a knowledge article about the microbiome soon, so stay tuned!
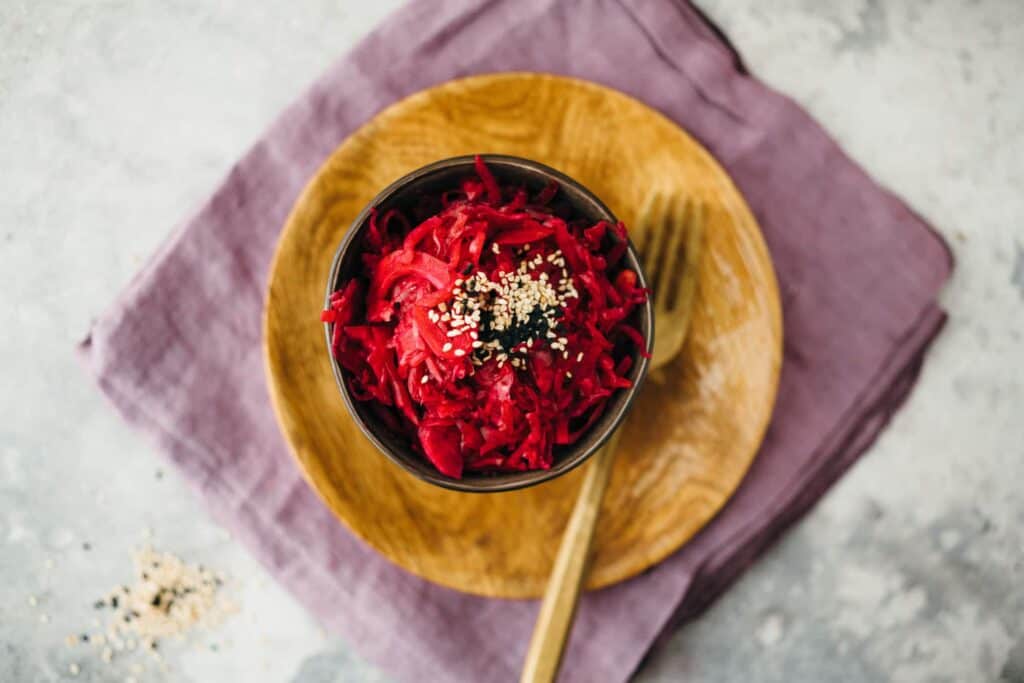
It goes wonderfully as a topping on sandwiches, salads, breads or wraps.
The fermented vegetables are:
- hearty
- Nice bite
- Slightly salty
- Easy to manufacture
- Super healthy for the intestine
I hope you got a taste for fermenting? If so, I’d love for you to share your feedback with us in the comments at the bottom of the page or on facebook. If you post a picture, use the hashtag #veganevibes.
Fermenting vegetables in 5 easy steps (v, gf)
- 1 kg mixed vegetables finely chopped, I use white cabbage, red cabbage, beet and carrots, 10 cups
- optional: 12g ginger finely chopped, 2 tbsp.
- optional: 12g fresh turmeric root finely chopped, 2 tbsp.
- 2 tbspn Sea salt important: use a good salt without iodine, flouride or anti-caking agent
Anleitung
- Sterilize canning jars before use (see step 1 earlier on the page).
- Vegetables , optional ginger and turmeric, in a large bowl and add sea salt. Knead well with your hands for a few minutes until liquid comes out and a natural brine is formed.1 kg mixed vegetables, optional: 12g ginger, optional: 12g fresh turmeric root, 2 tbspn Sea salt

- Pour into the jars (fill to a maximum of ¾ full) and press down with your hands or a pestle.

- If the vegetables are not completely covered with brine, add brine* until everything is under the liquid. TIP: You can easily make additional brine by mixing 1 liter of water with 20g of salt. This creates a 2% fermentation brine with which you can fill your vegetables until they are completely under “water”.

- Optionally, place a weight inside to weigh it down, seal, and allow to ferment at room temperature for up to 14 days .

- In the first few days, be sure to vent every day and repeatedly press down vegetables.
- After 10-14 days, take a sample and continue to store in the refrigerator.
- You can find all the instructions in detail further up the page.


Notizen
- Weck jars (850ml) with rubber ring and clips: https://amzn.to/2RY5y1e
- Weights for preserving jars: https://amzn.to/2HiX5SP
- Professional fermentation jar with automatic venting: https://amzn.to/3dJndC7
